
Table of Contents
Name of Procedure
- LESI or TESI – Lumbar or thoracic interlaminar epidural steroid injection
💰 Medicare Data Explorer and Calculator
See payment rates and wRVUs from public CMS data. And use our calculator to model procedures and your practice.
Explore data for a Lumbar Interlaminar Epidural Steroid Injection →
Sample Opnote
Goal
To access and then administer steroid to the thoracic or lumbar epidural space.
Indications
Usually to treat degenerative disc disease or central or neural foraminal stenosis that is causing radicular symptoms into the torso or legs.
Contraindications
- Common contraindications
- Blood thinners – See ASRA based guidelines (and an abbreviated protocol) for managing various blood thinners pre and post procedure
Anatomy
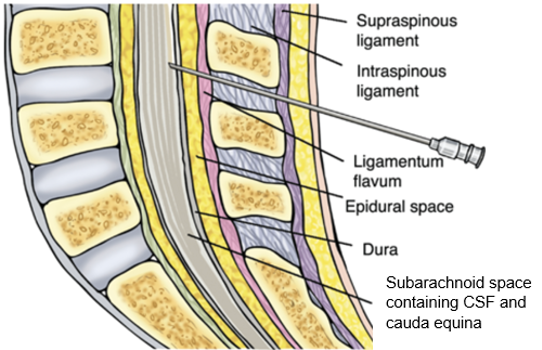
Overview
- The spinal cord runs down the middle of the spinal canal
- The cord itself ends around L1-L2 and only the cauda equina continues
- Hence, below L1-L2 is a good place to stick a needle as it’s below the cord and less likely to cause injury.
- Immediately surrounding the cauda equina is the intrathecal space (subarachnoid space) which contains the CSF (cerebrospinal fluid)
- Moving posteriorly/superficially through the layers you have the:
- Arachnoid mater
- Dura mater
- Epidural space
- Ligamentum flavum
- Interspinous space/ligament
- Supraspinous ligament
- Skin/subcutaneous fat
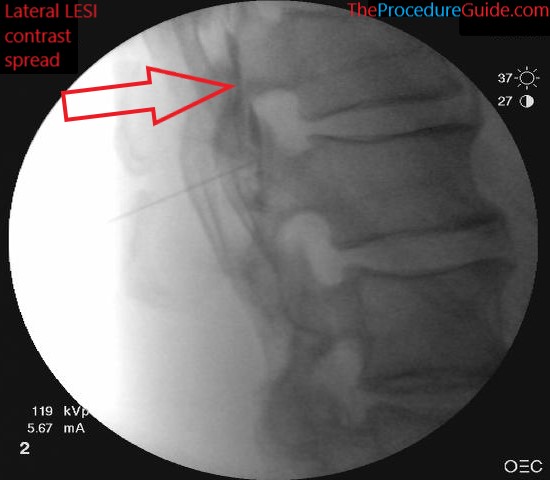
Sagittal plane, which shows a needle trajectory that would get access to the epidural or intrathecal space (in this picture the tip is in the intrathecal space):
Thoracic vs Lumbar
Note how the thoracic vertebrae are shaped differently than lumbar vertebrae:
- From an AP view: They have spinous processes that are more angled and overlap with each other.
- They potentially have more narrow interlaminar spaces.

Therefore a paramedian approach might be easier for thoracic epidural access: As shown in the right image, if you enter the interlaminar space from an oblique perspective, this is referred to as a paramedian approach.
It isn’t as pronounced on this model but especially at higher levels the paramedian approach might be much more open than a midline/interspinous approach.
Equipment/Skills/Setup
Core Equipment/Disposables: See our disposables/equipment article for “core” items that are common to all procedures.
Core Skills: See our guides to obtain images of the cervical, thoracic, or lumbar spine. Then steer a needle to direct it under the skin.
Special items and suggested setup for this procedure:
- 20g x 3.5″ Tuohy epidural needle
- 3-5cc normal saline or air in a LOR syringe
- Steroid + 5-10cc of normal saline in a 10cc syringe as your injectate
- 2-3cc contrast in a 3cc syringe
- 3-5cc 1% lidocaine in a 5cc syringe with a 25g x 1.5″ hypodermic needle for subcutaneous local anesthesia.
Landmarks and Patient Positioning
Position the patient in a basic prone position so that the bottom of the c-arm can go under the table below the area of the spine that is being treated.
Technique
- Targets vary based on clinical factors. Start with an AP view and tilt the C-arm towards or away from the head to open up your target interspace.
- From here, choose an entry point on the skin, which can vary:
- Sometimes starting below the target interspace gives you a more “vertical” trajectory which is typical of epidurals.
- But, since you have a C-arm as guidance if you have a large target interspace, you could start just above it and go “down the barrel” to get straight into the epidural space.
- You can start superficial to the lamina that sits just below the interspace: Aiming deep to contact bone/lamina will give you a gauge of depth without having to check a lateral view. Then you can walk up superiorly towards the interspace.
- Likewise if you are trying to “lateralize” the medication spread you can start on one side and enter the epidural space to one side. Also, entering paramedian to the spinous processes allows you to have less bony structures in the path of the needle.
- Once you choose an entry point, you can localize the skin and advance the need to anesthetize the subcutaneous tissue.
- Usually spreading the local over a cone shaped area will allow you to anesthetize enough area for comfort but not require you to check the exact track that’s been anesthetized.
- Remove the hypodermic needle but keep track of the entry point and the trajectory that you noted above.
- Insert the tuohy needle (with stylet in) along the same track.
- You’ll enter as far as you know is safe
- As noted above, you can target lamina first and use an AP view to verify safety.
- Or you can aim straight for the epidural space and use a lateral view if you want to check depth
- Re-orient the needle as needed to advance to the target interspace.
- You’ll enter as far as you know is safe
- After getting close to the epidural space you’ll remove your stylet and advance using a continuous loss of resistance (LOR) technique.
- Use other cues to check your progress to stay within safe limits:
- If you find your advancing more than you expected based on the last image, check another image or a lateral.
- Check your medial-lateral orientation by physically looking at the patient and needle.
- Use other cues to check your progress to stay within safe limits:
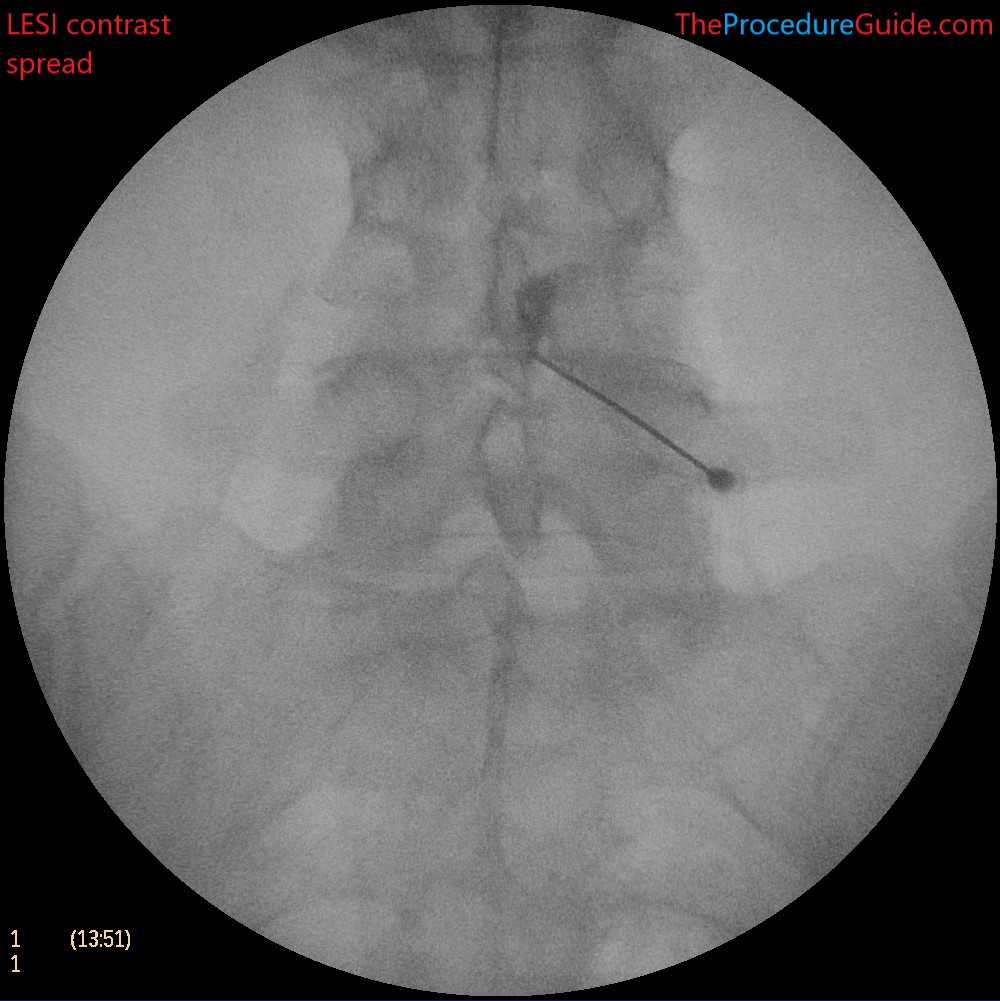
- Once you have LOR, remove the LOR syringe, and hook up the contrast syringe
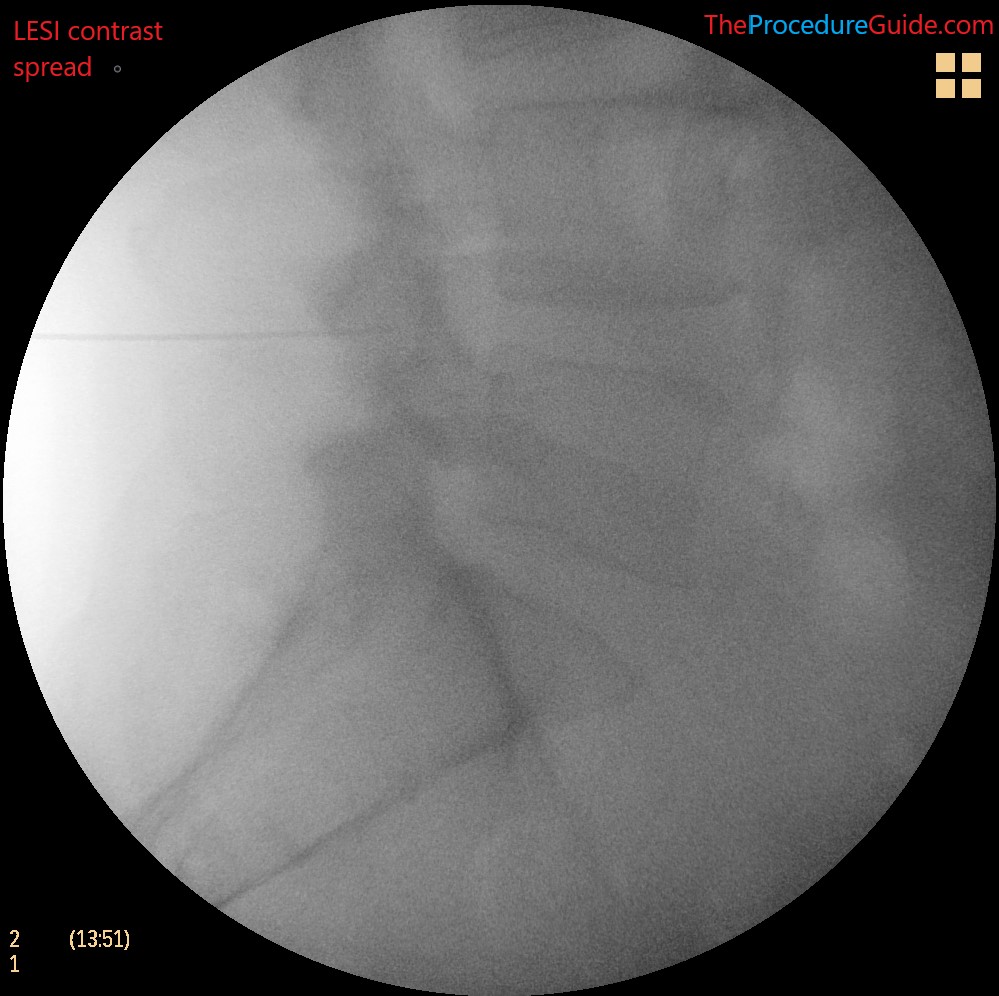
- Injection contrast. Live injection can help you see nice rule out vascular uptake.
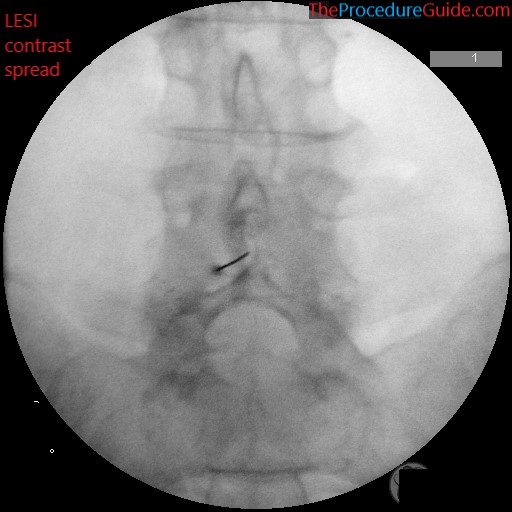
- You can also check a lateral to verify spread and position.
- Now simply inject the saline and steroid medication.
- Remove the needle smoothly
Tips
- A combination of experience, patient size and trajectory help you to determine depth. With the approaches mentioned above you usually don’t need a lateral to determine depth.
- Tuohy needle gauge
- A 20g is listed in this guide but it has a much more subtle loss of resistance than an 18g, but has a lower risk of post dural puncture headache if a wet tap occurs, and might be more comfortable for patients.